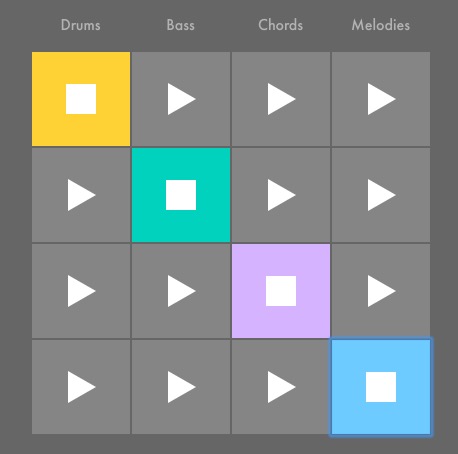
Use the pre-made tracks or make your own.

Tabletop Audio has released over 100 royalty-free 10-minute sound files produced primarily for game designers but that could work very well for many kinds of films.
Incept date: 10 APRIL., 2017

Documentary 2017 Red Jones Suzy.m4v
Documentary 2017 Blue Gilberto Bruce.m4v
Finally got a decent slider (thank you, Ms. Crawford in the Learning Commons!). Heavy enough for biggish DSLRs, it mounts on
MacWorld UK has 26 iMovie tips that range from beginner to “advanced.” For instance, all this time I thought you had to laboriously option-click to set keyframe points to adjust volume in small sections of a clip. Nope.
And I thought you had to split clips to apply speed changes. Nope. Set some keyframes and adjust speed – iMovie will “smooth” the speed transition from both sides of the edit.

New term to me. From Still Motion Blog.
Portland media studio Red Stallion short “Maine Makers” video about KGB Glass, who specializes in blowing glass pipes that look like donuts (note “carb” joke on the bag at the end). They’ve written up a series of tips about how to tell a story, almost entirely concerning interviewing and b-roll. Good stuff (link seems to be dead, but I’ve written them to find it).
Their first foray into this genre was the film we saw earlier this year about our own Jared DeSimio.
This kind of maker profile is ripe for parody. Gulp.
Due February 28 – March 1, as
The basic job is to produce a 2-minute film for which you record the audio with two devices at the same time:
Use a lav mic/boom mic/desk mic or place the second device very near the subject to get the best possible audio.
When you’re done, sync the second audio to the video as shown in this YouTube tutorial. She has the subject clap his hands instead of using a clapperboard:
After you have a good sync, export the new video+audio interview out, then re-import it so that you never lose the sync.
The best results will
The assignment is played in iMovie, so we can watch how you did it.
Some of this is covered in this Vimeo about filming an interview.


